
Manage Prompts
Centralized prompt management means the prompts your team relies on are maintained in one place — no duplicates, no outdated versions, no prompts that only one person knows about.
Why This Matters
Category assignment makes the prompt library navigable at scale. When your organization has hundreds of prompts, categories are what keeps users finding the right one in seconds.
File import means you can onboard a prompt library from a template or migrate from another system without recreating every prompt manually.
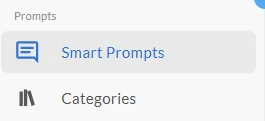
Navigate to the Prompts Page
Go to AI Settings
Select Prompts from the menu
Create a Prompt
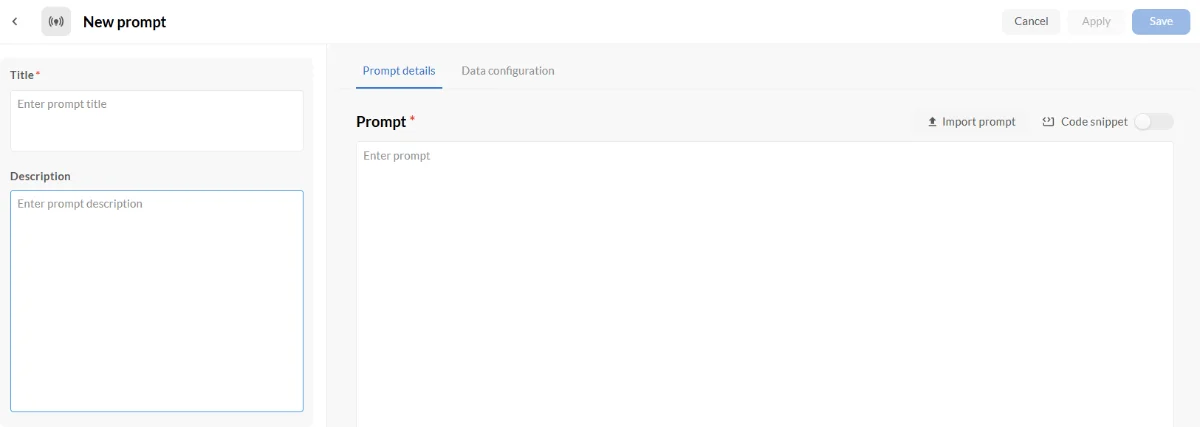
Click + Add Prompt in the top right of the page
Enter a Prompt Name
Enter the prompt body — the instruction text Gary will follow
Assign a Category
Click Save
Note: Prompt names must be unique within your tenant. If you enter a name that already exists, you'll see a validation message before the prompt saves.
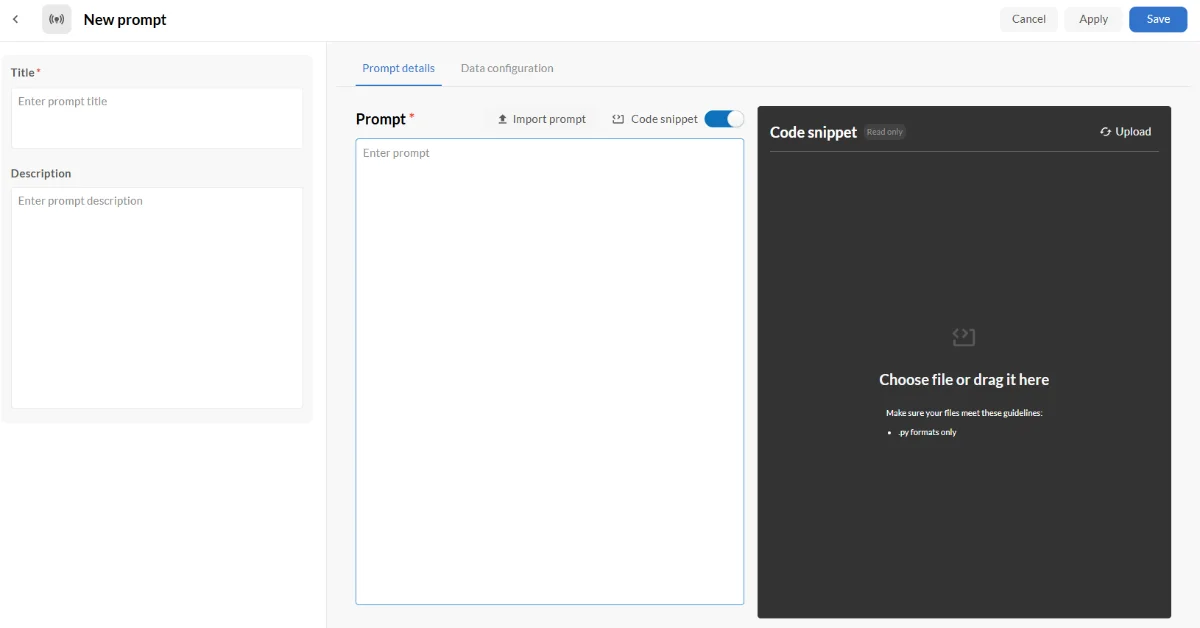
Code Snippet
Edit a Prompt
Locate the prompt in the list.
Click the pencil icon next to the prompt name.
Make your changes.
Click Save.

Delete a Prompt
Locate the prompt in the list.
Click the three dots (...) next to the prompt.
Select Delete Prompt.
Deletion is permanent. If the prompt is attached to an agent, deleting it removes it from that agent's available options.
Import Prompts from a File
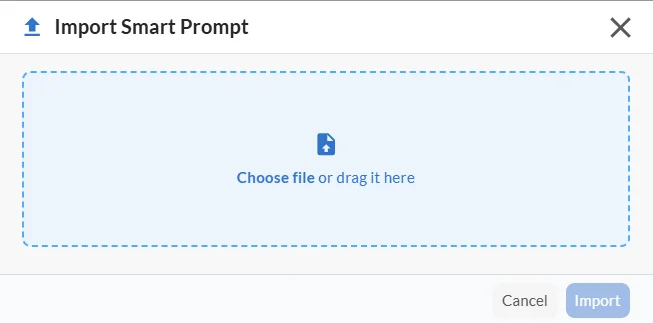
Click Import Prompts in the top right of the page.
Select your file or drag and drop it into the upload area.
Review any validation errors for missing required fields.
Click Import to complete.
If your import file is missing required fields, CORAS will flag the affected rows before processing. Review the errors, correct the source file, and re-import.
If your import file is missing required fields, CORAS will flag the affected rows before processing. Review the errors, correct the source file, and re-import.
Assign a Category to a Prompt
Open the prompt in edit view.
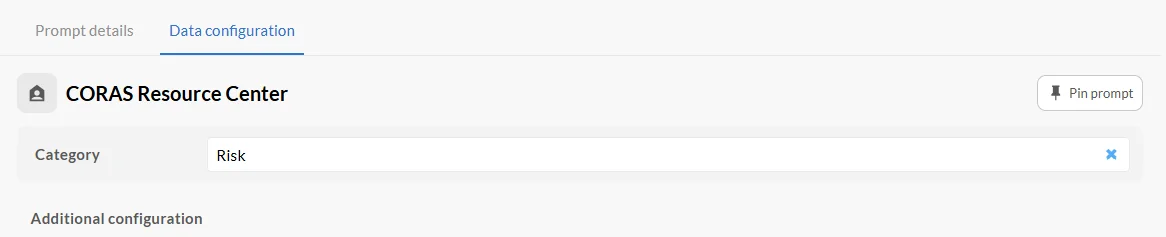
Click the Category dropdown.
Select the appropriate category.
Click Save.
For guidance on creating and managing categories, see Manage Categories.
Note: When you delete a category, it is removed from all prompts it was assigned to. The prompts themselves are not deleted.
For guidance on creating and managing categories, see Manage Categories.
Lock a Prompt
Locking a prompt makes it available for use in chat but prevents users from editing, copying, or deleting it.
Locate the prompt in the list.
Open the prompt's actions (pencil icon or three dots).
Toggle Lock on.
Locked prompts remain usable in chat. Toggle off to restore editing, copying, and deletion.