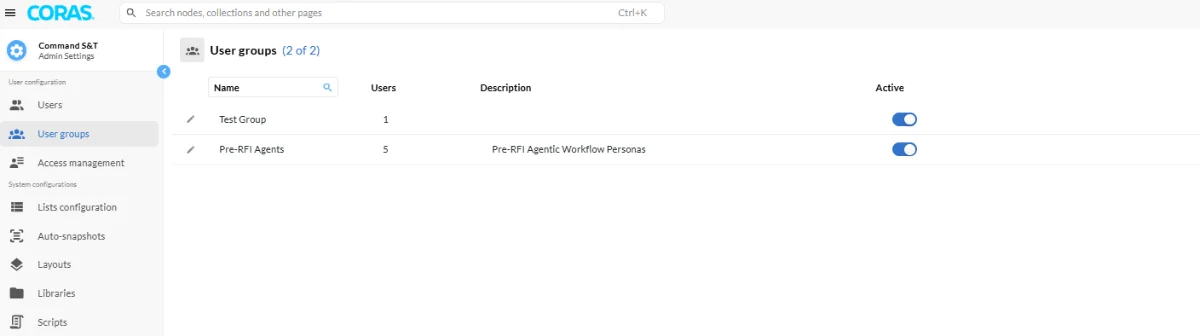
User Groups
User Groups let administrators manage permissions for multiple users at once, simplifying access control across your CORAS tenant. In an IL-5 environment where audit-traceable access is a compliance requirement, group-based permissions ensure that the right people see the right data — and that you can prove it. Groups are also the mechanism for scoping what Gary and other AI features can access on behalf of different teams.
When to Use This
Onboarding a new team — Create a group, add members, and assign access to the relevant nodes and collections in one step.
Scaling access management — As your tenant grows, group-based permissions keep administration manageable without per-user configuration.
Compliance and audit — Groups provide a clear, traceable record of who has access to what within your CORAS environment.
Navigating to User Groups
Select your name at the top of the screen.
Click Admin Settings from the left side panel.
Ensure you are on the User Groups tab.
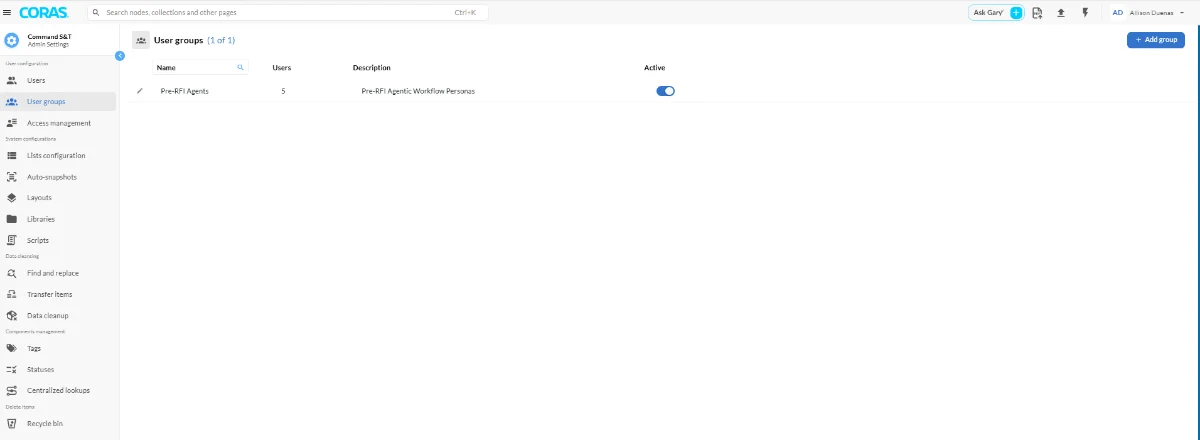
Adding a User Group
On the right side of the screen, select Add Group.
Enter a title for the new group.
Optionally, add a description for the group.
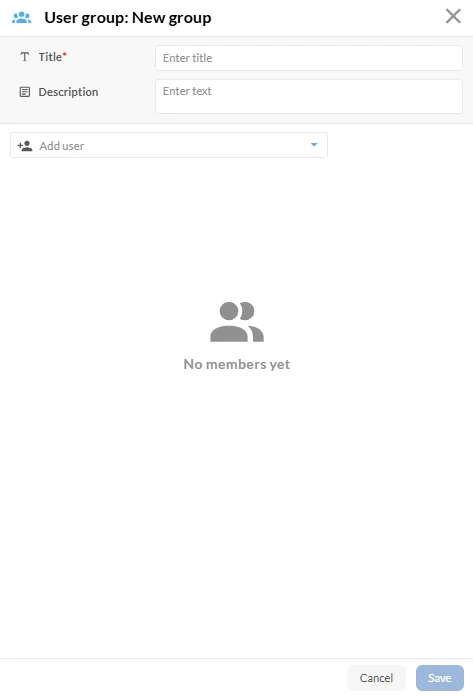
Adding Members to the Group
Use the dropdown to select the individuals you wish to add to the group.
Click Save to confirm the group membership.
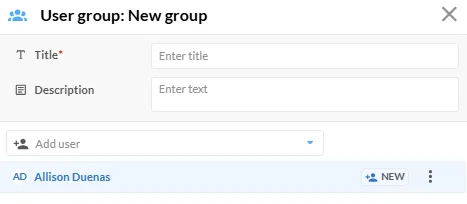
Removing a User from a Group
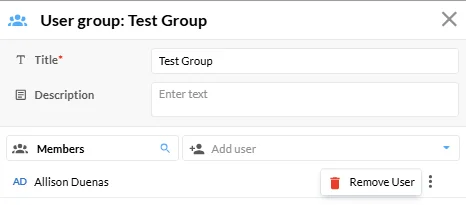
Select the three dots menu next to the user you wish to remove.
Click Remove to remove the user from the group.
If you do not wish to remove a user, click Save to keep the current membership.
Confirming the Group
After saving, the group displays with all active users listed.