
Users
User management is the foundation of access control in CORAS. Every person who interacts with your tenant from administrators building data structures to analysts running reports to leadership reviewing dashboards — must be added as a user. In CORAS's IL-5 ATO environment, user management ensures audit-traceable access: every action is tied to an authenticated identity, and role-based permissions control exactly what each person can see and do.
User Management
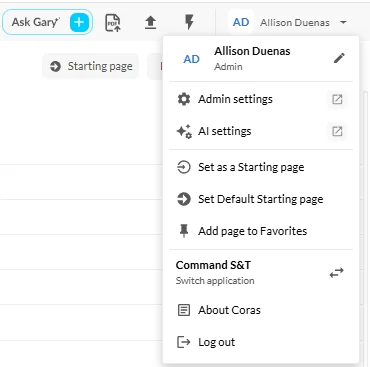
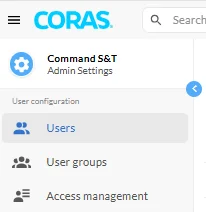
All user access and permission management— including adding users, creating user groups, and managing access — can be done within the Admin Settings area of CORAS.
Users
The Users tab displays all individuals who have access to your tenant, collection, or node. This includes key details such as:
Username
Email Address
Assigned Role (User or Admin)

How to Add a User (User or Admin)
Go to Admin Settings — Users.
Click Add User.
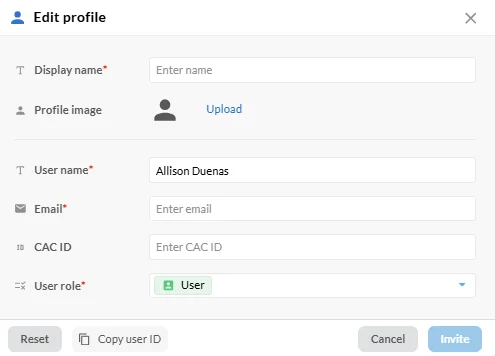
Fill in the required fields:
Full Name
Username
Email
Role: Select User or Admin:
User: Access is controlled through group or node permissions.
Admin: Has elevated privileges to manage system settings, users, and content.
Click Save.
Note: A user must first be added to the system before they can be assigned to a User Group or granted access permissions.
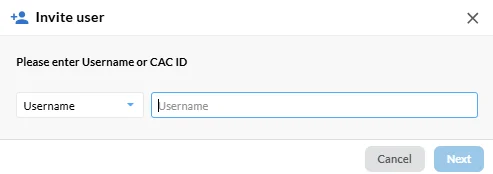
How to Add a CAC User
Note: CAC (Common Access Card) users authenticate using DoW credentials and may require tenant-specific identity configurations.
Implementation-specific steps for adding CAC users should be documented here according to your organization's identity and access management configuration.